The bare wall
Two sockets and a promise
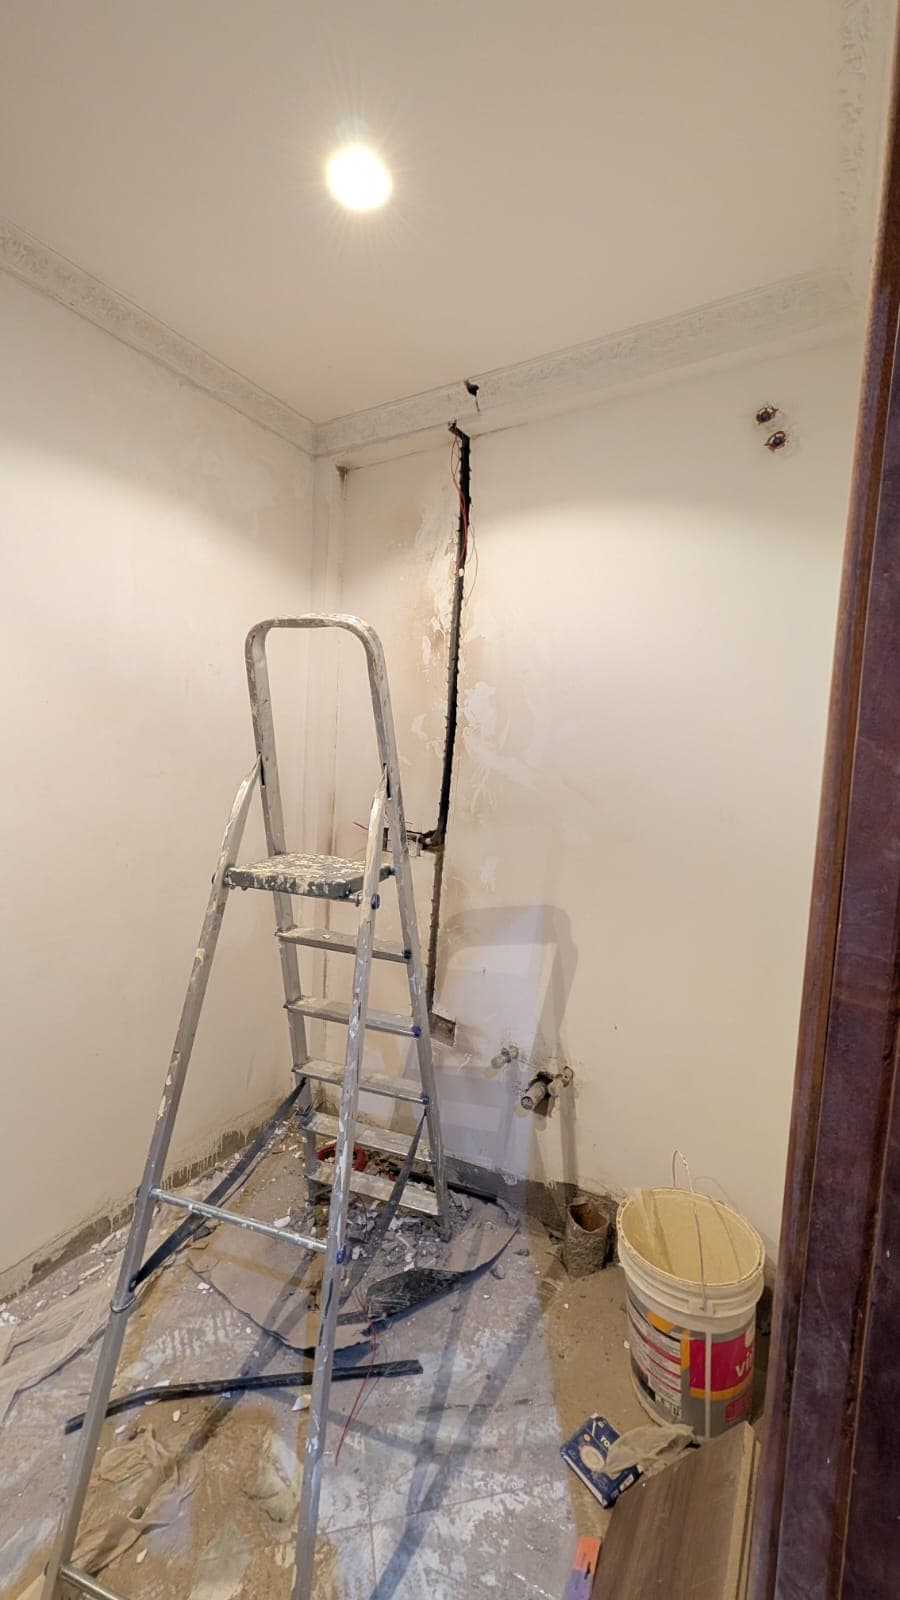
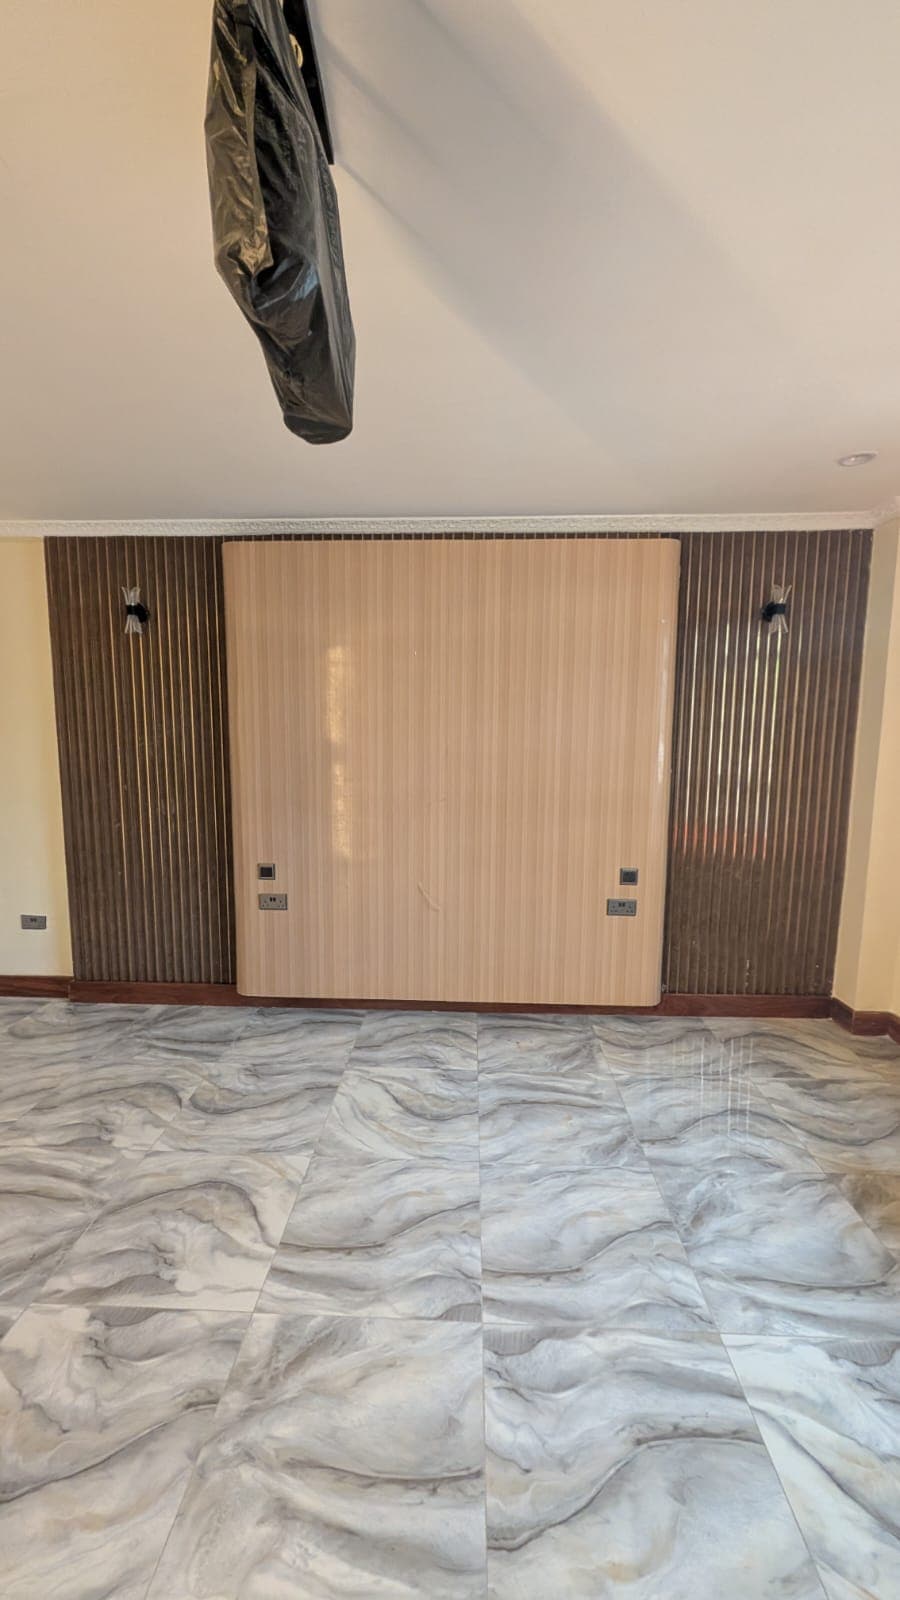
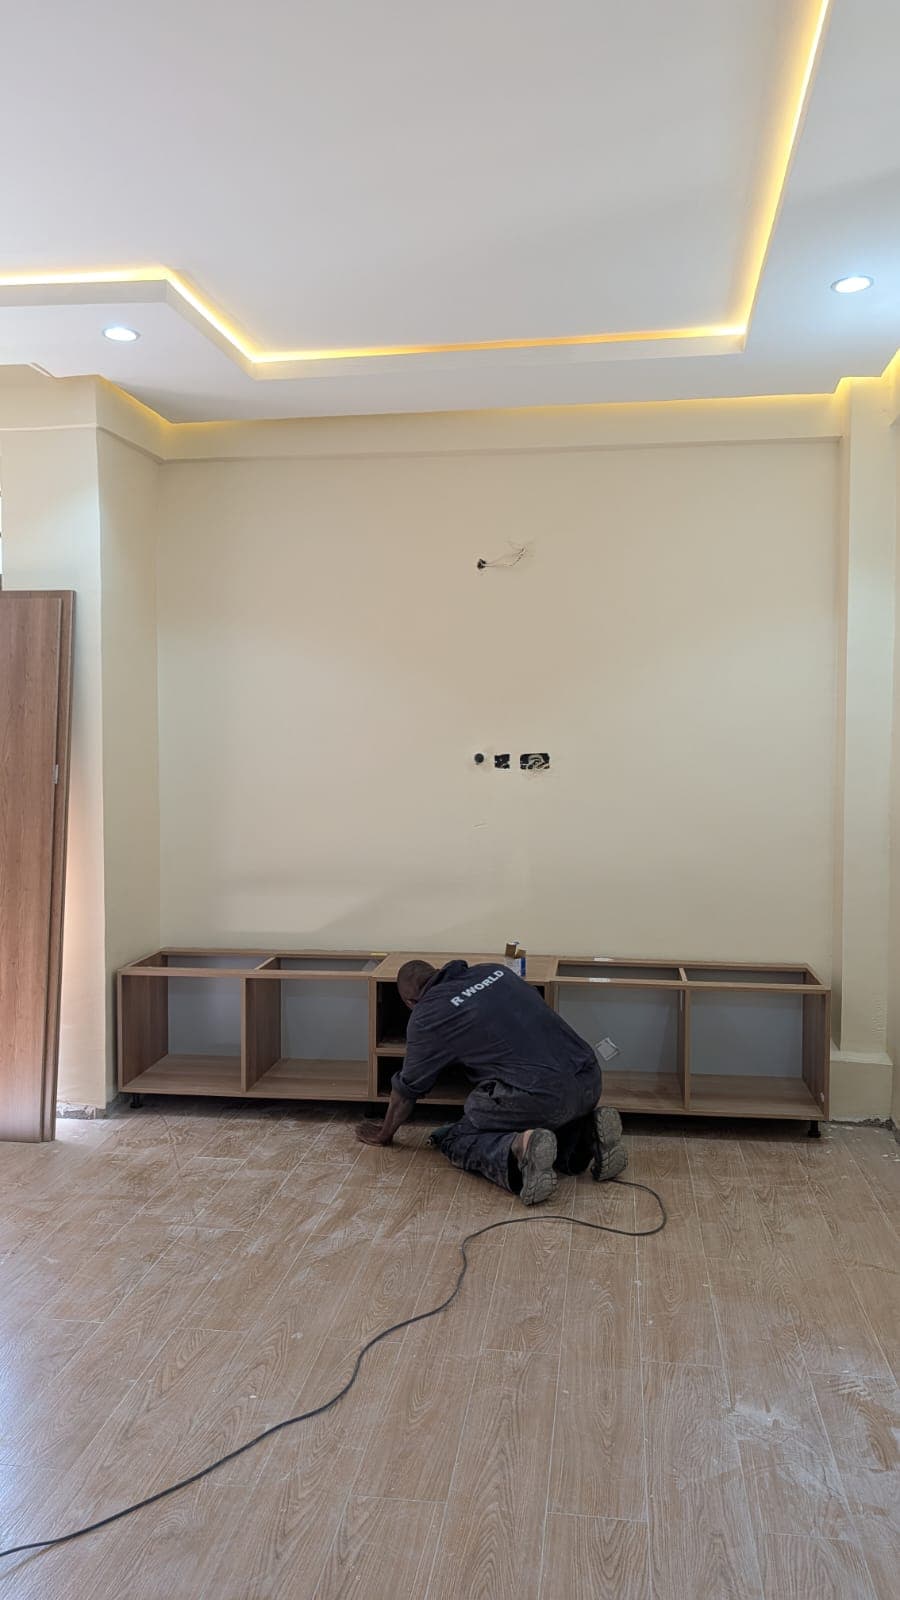
A cream wall. Two sockets at the centre, where a television will one day hang. Above it, a stepped ceiling edged with a line of warm light that is already doing its job.
Everything that follows starts from those two sockets, a carpenter and a drill on a long cable.
Bay by bay
One carpenter, one cable drill, one long base unit
The first thing to arrive is the base. A carpenter kneels on the floor with a drill on a long cable and assembles it bay by bay: open compartments first, then a shelf in the middle bay that ties the whole line together.
Look at the floor in the frames below — sawdust, a cable, a carpenter’s boots. It looks like nothing. It is the hour the whole wall is decided.
Frame by frame
The base unit, assembled in place
Fig. 02 1 of 3
Bay by bay
The carcass takes shape: open bays, grey backs, more bays joining the line as the carpenter works along the floor.
Fig. 03 2 of 3
A central shelf
A shelf goes into the middle bay and the unit becomes one piece.
Fig. 04 3 of 3
The wall around it
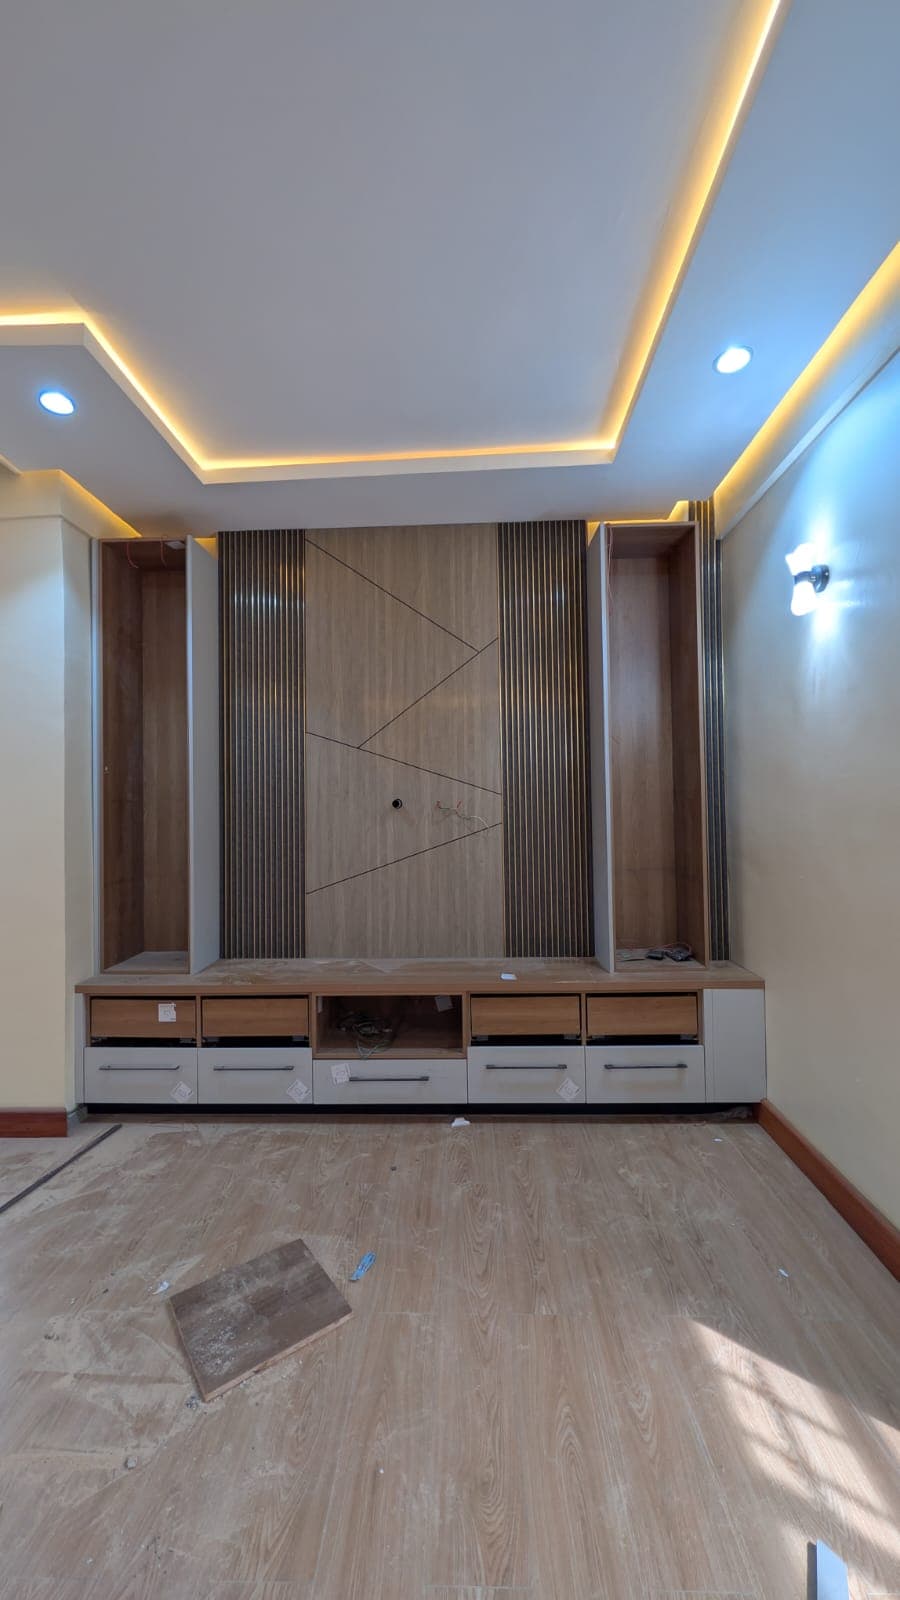
Later, the same room from the doorway: panel up, drawers in, the ceiling glowing.
Plywood, slats and a pencil line
A wall you can read
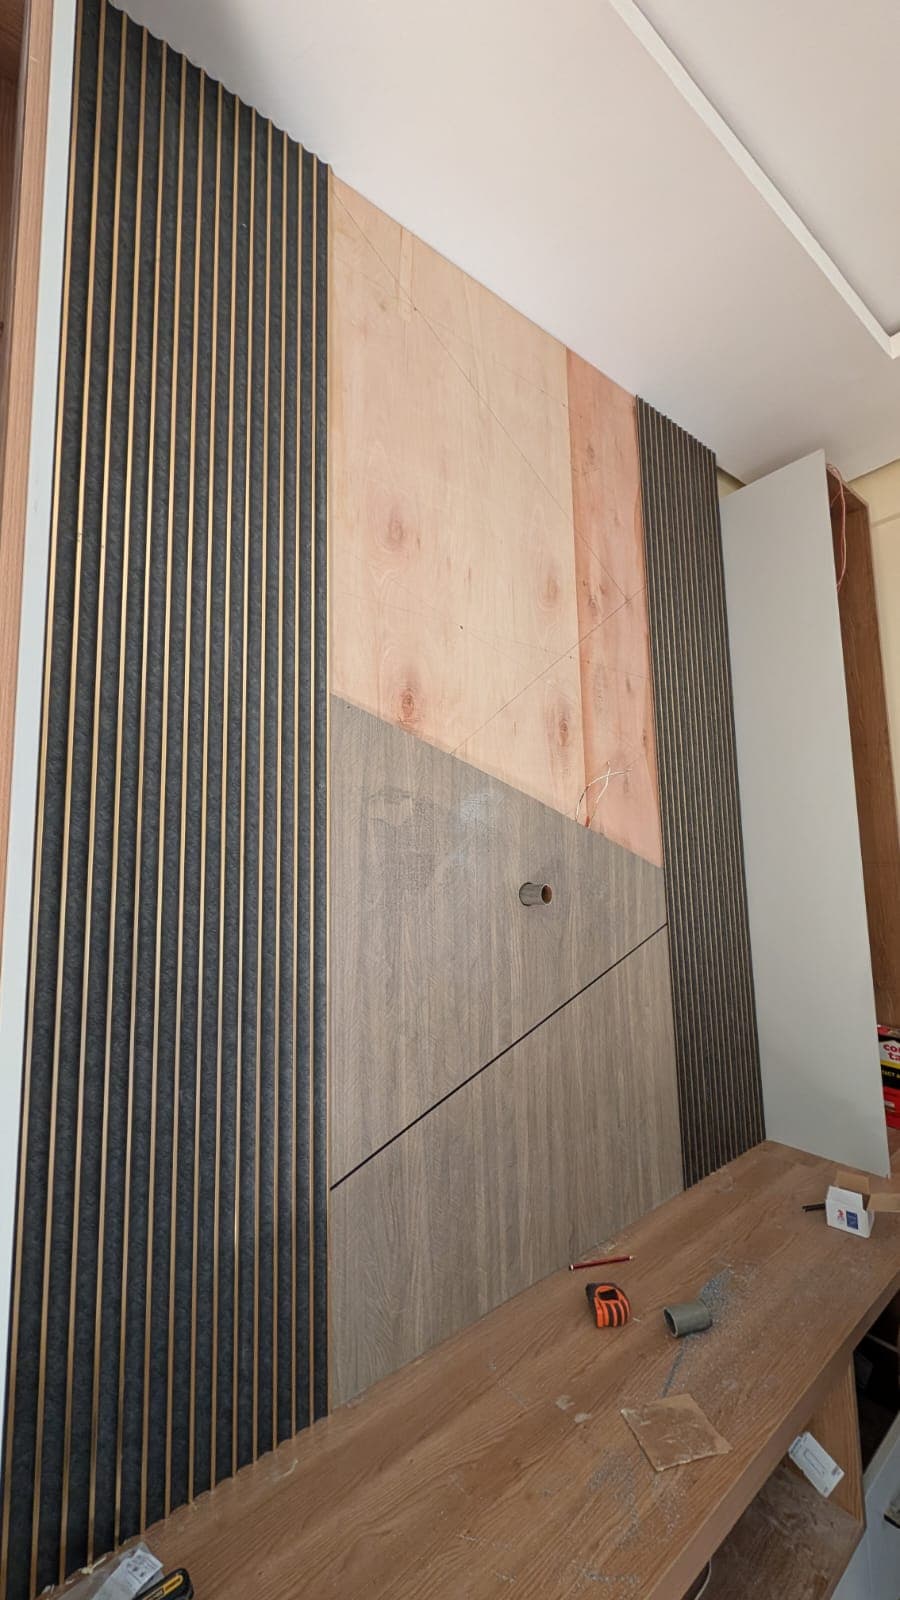
Above the base, the wall itself goes up in layers. Pale plywood first — you can see the grain before it is covered — then ribbed slats on either side, charcoal-grey, with a hair-thin brass-toned line between each rib. Last comes the central panel: pale oak, cut with long diagonals that meet at a point.
A tape measure and a pencil sit on the console top, exactly where they were left. Two craftsmen work the wall together, and beside them a ladder waits its turn.
Nearly there
The wall, with its ceiling alight
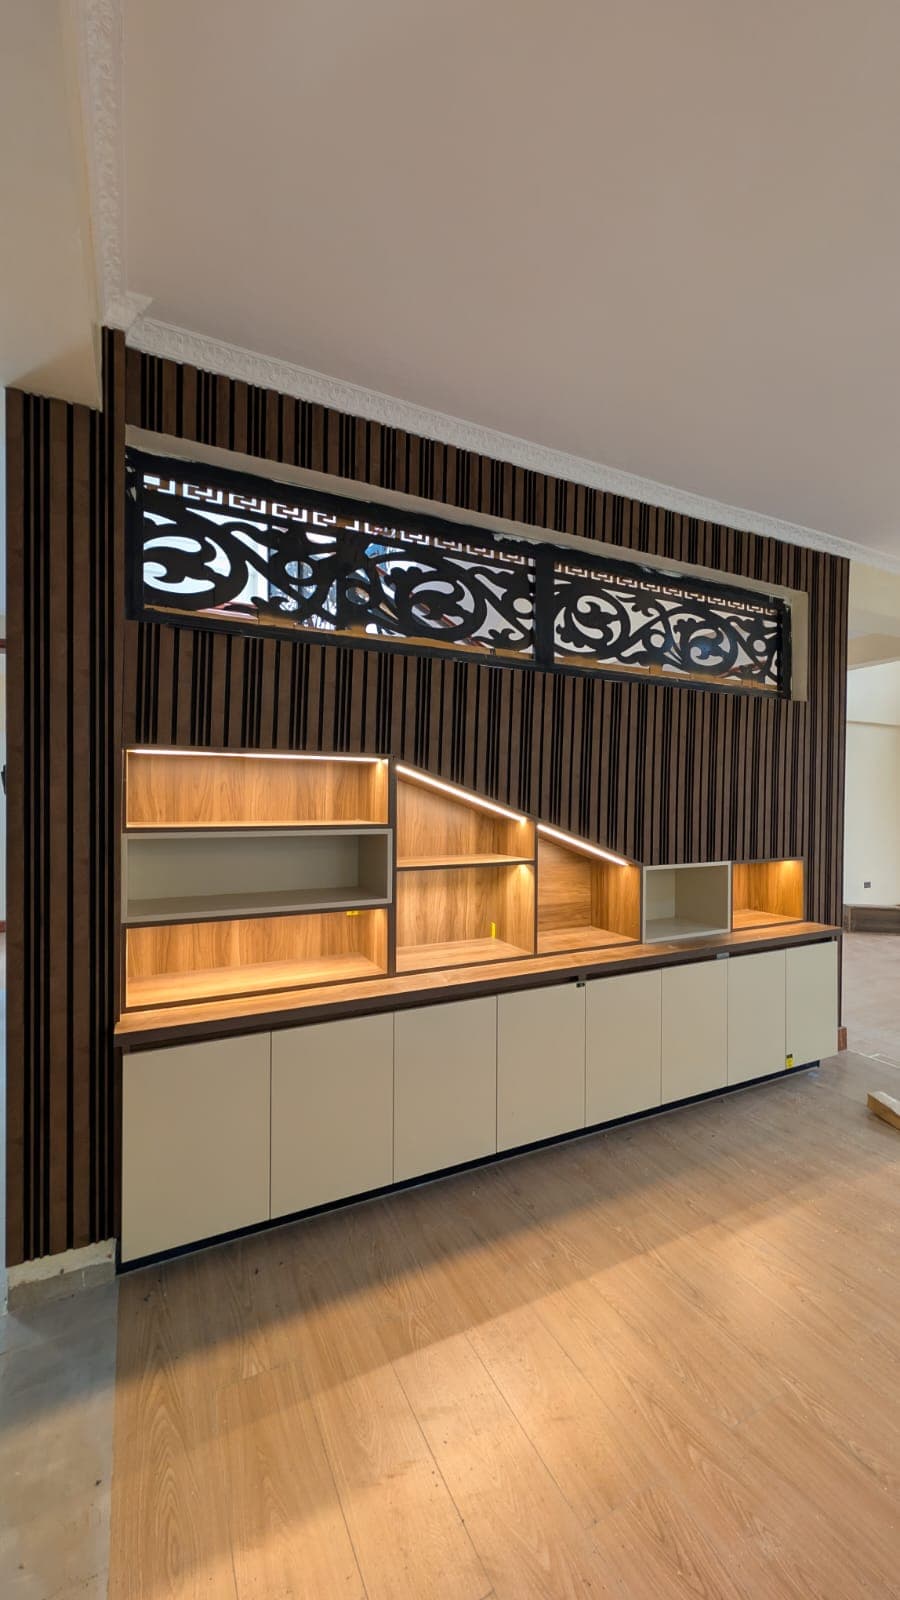
This is the wall with the cove light on: diagonals crisp against the pale oak, slats standing in ranks either side. The drawers are fitted — oak-fronted above, white below, each with a long bar handle — and the cabling that will feed the screen still hangs where the television will go.
It is not finished: the photographs stop where the work has not. But you can already read the whole idea — a plain wall, given a spine.
A plain wall, given a spine.